
Choosing to fit stair nosing will mean that you will need to follow some guidelines. This will ensure the stair nosing meets Building Regulations but is also correct for the type of footfall the stairs will have. It will also need to meet the standards required for either internal or external fitting.
Here we provide an easy to follow, step by step guide on how to fit the stair nosing correctly.
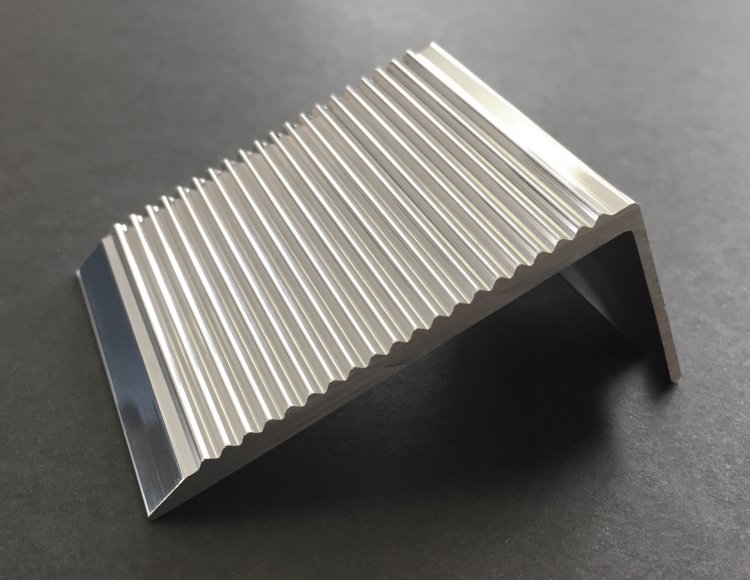
Types of stair nosing
Before you start the preparation works on your staircase, you will need to make the choice of stair nosing and whether they are suitable or either internal or external use. For example:
- Heavy duty anti-slip stair nosing
- Single or double channel stair nosing
- Bullnose stair nosing
- Ramped Edge stair nosing
- Infill stair nosing
This will be also affected by the type of floor covering you have, therefore consideration will be needed for which surface or covering the stair nosing will be fixed to, for example:
- Tile
- Wood
- Carpet
- Metal
1. Preparing the surface for stair nosing
As with all jobs, one of the most important stages is the preparation. Installing stair nosing is no different. However, it is important to recognised that, dependent whether the stair nosing is for internal or external stairs, that the surface materials may differ and therefore require a different approach to preparation.
It is recommended that you use a primer whilst preparing the steps for the stair nosing, no matter what the staircase is made from. This will be particularly important if the overall condition of the stairs is poor.
Preparing concrete stairs for stair nosing
It will be necessary to ensure that the concrete step is levelled correctly and is free from cracks, dusts or any crumbling areas. Prior to fitting the stair nosing, if you need to repair the step, make sure that the manufacturer’s guidelines are followed and the area has been given plenty of time to dry and harden.
Preparing wooden stairs for stair nosing
As with the concrete stairs, it is important to ensure that the wooden stairs are free from dusts and cracks. If there are cracks, use a strong wood filler, allow to dry and harden, then lightly sand to a smooth finish. Wooden stair treads and risers should also be sound, without any evidence of rot or woodworm infestation.
Preparing metal stairs for stair nosing
Metal stairs will need clean and smooth the stairs and to have any rust or debris removed. The metal work should be galvanised and can be powdered coated to a colour of your choice.
2. Measure the stairs accurately
Measuring the stairs accurately at the start will help to save time and effort further down the line. Don’t assume that every step and riser is exactly the same, as there may be subtle differences.
These differences could mean either having to cut more from the stair nosing or, worse still, having cut too much off at the start.
3. Get ready to cut the stair nosing
Some stair nosing is supplied as a pre-cut length. However, if you are cutting the stair nosing to the lengths required, be sure to accurately mark the measurements and double check them before making the first cut.
Remember, even being slightly out can really detract from the quality of the final finish.
4. Dry fit first
Before making the final fixings with the adhesives and screw, it is highly advisable to dry fit the stair nosing first. This means you position the stair nosing in place to ensure that the measurements have be made correctly, and the stair nosing will fit correctly and safely when glued and screwed in place.
5. Fixing the stair nosing
When you have reached the stage to fix the stair nosing, there can be a couple of different options to consider.
- Standard Nosing Types – Drilled and countersunk fixings (visible when finished)
- Infill Nosing – Nosing drilled and fitted and then infill secured (secret fixing hidden by the infill)
- It will be important to ensure that any riser fittings are completed before you commence the fitting of the stair nosing.
- Note: If you are fixing the stair nosing to a concrete or metal staircase, make sure you use the cut to size stair nosing as a template to measure out the screw holes into the correct spacing.
- Once you have marked the correct positioning of the screw holes using the stair nosing template, carefully drill the holes.
- Following the manufacturer’s instructions, carefully apply the adhesive to the stair nosing and treads.
- Note: You will need to start at the top step and work down rather starting at the bottom and working up the stairs. This means that you will reduce the risk of knocking the stair nosing below you as you work up.
- Once the adhesive has been applied, press the stair nosing firmly down and then screw in to position. When the screws are in move down to the next step.
- Essentially, it is now simply repeat the installation processes for each step using the stages 1-4 stated above, until you have completed fixing all the stair nosing on the entire staircase.
Note: Before you move on to the next step, make sure that you have cleaned away any excess adhesive that may be around the stair nosing while it is still wet. It will make life a lot easier than if the adhesive has dried and hardened. Also, check that the stair nosing is straight and firmly in place without any wobble.
Leave to dry and harden
Once you have completed all the stair nosing, it will need plenty of time to allow the adhesive to harden properly. On average a guide time will be approximately 1 hour for stair nosing fixed to an absorbent surface and approximately 2 hours drying time for a non-absorbent surface. Always follow manufacturers drying time guidelines before allowing footfall.
Note: Heavy duty anti slip stair nosing may need additional time to properly dry and harden, so remember to factor in enough time.
Also, remember to tidy away all the tools and adhesive tubes once you have finished the work. You don’t want anyone to trip on your newly finished stairs!
Now that you have completed the fixing of your new stair nosing, you can relax and enjoy the fruits of your labour.
We hope you find this guide useful but if you have any queries or questions about stair nosing and which is the right one for you, then please give us a call and we will be more than happy to discuss your options.